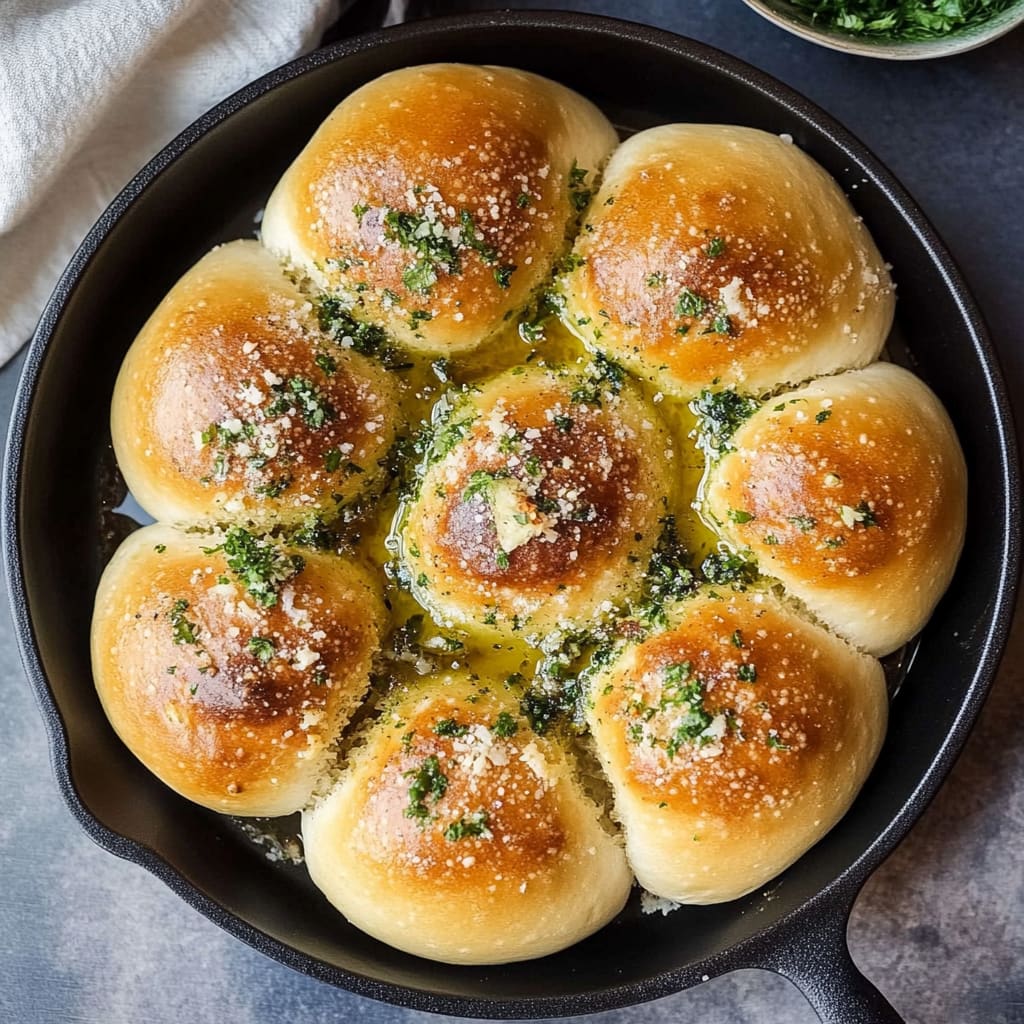
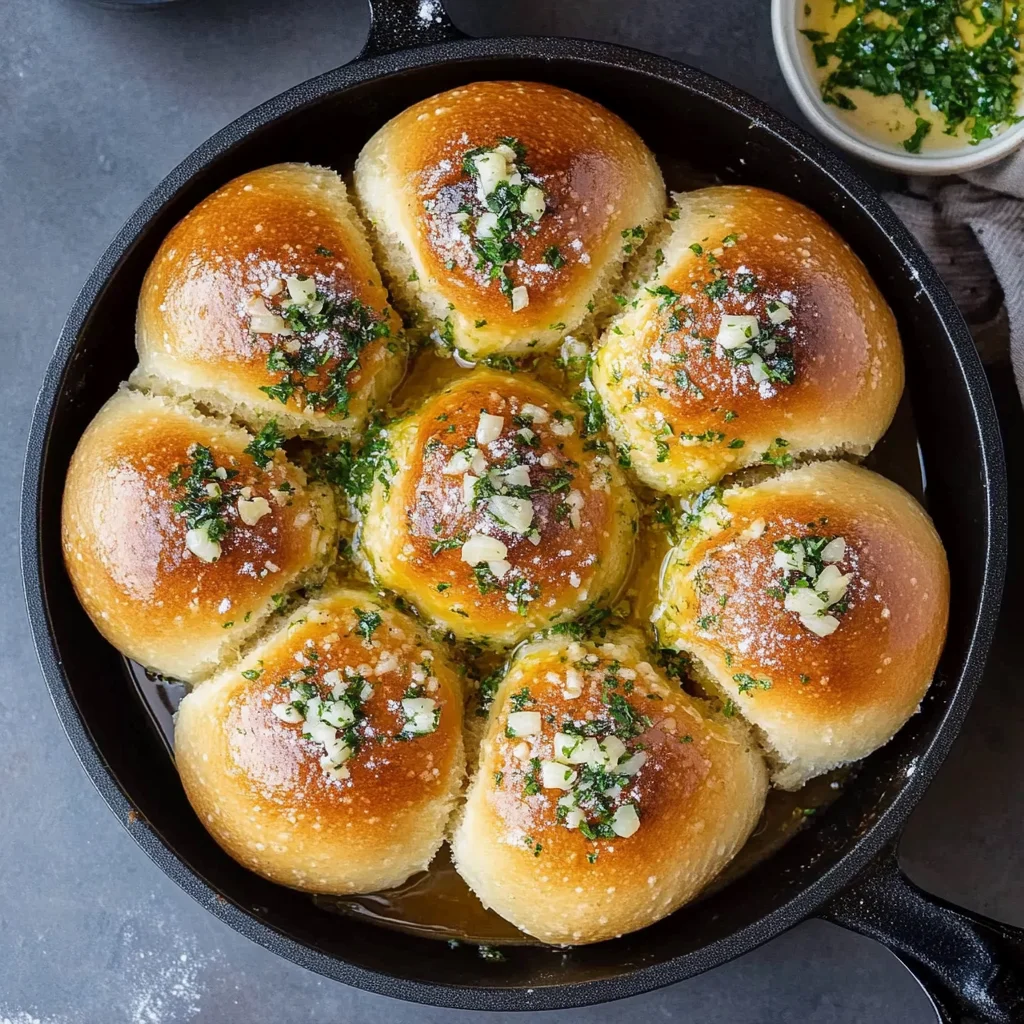
Picture this: warm, fluffy Ukrainian Garlic Bread (Pampushky) emerging from the oven, its golden crust crackling and releasing an irresistible aroma of roasted garlic. Each bite offers a delightful dance of flavors that perfectly complements a steaming bowl of borscht, making it an unforgettable addition to any meal.
I still remember my grandmother’s kitchen, where the scent of freshly baked Pampushky would waft through the air, drawing us in like moths to a flame. Whether it was a cozy family gathering or a festive holiday feast, this garlic-infused marvel always stole the show, promising an amazing flavor experience that lingers in both memory and taste.
Why Will You Keep Making Ukrainian Garlic Bread (Pampushky)?
Deliciously aromatic from the fresh garlic and parsley, this bread elevates any meal. Quick to prepare, with just 30 minutes of prep and 15 minutes of cooking, it’s perfect for busy weeknights. Versatile enough to accompany borscht or stand alone as a snack, it’s sure to impress friends and family. Simple ingredients make it accessible, while the mouthwatering flavor keeps you coming back for more!
Ukrainian Garlic Bread (Pampushky) Ingredients
For the Dough
- 3 cups all-purpose flour – This forms the base of your bread, giving it structure and a delightful chewiness.
- 1 packet active dry yeast – Essential for leavening, helping your bread rise beautifully.
- 1 teaspoon sugar – A little sweetness to feed the yeast and enhance the flavor of your bread.
- 1 teaspoon salt – Balances sweetness and enhances all other flavors in your dough.
- 1 cup warm water – Activates the yeast; ensure it’s warm but not hot to the touch.
- 2 tablespoons olive oil – Adds moisture and richness to your Ukrainian Garlic Bread (Pampushky).
For the Garlic Topping
- 4 cloves garlic (minced) – Provides that signature garlicky punch that pairs perfectly with borscht.
- 1 tablespoon fresh parsley (chopped) – Adds a pop of color and freshness to your topping.
- 1/4 cup butter (melted) – Ensures the garlic sticks to the bread and adds a rich flavor.
- 1 teaspoon salt – Enhances the overall taste of your delicious garlic topping.
How to Make Ukrainian Garlic Bread (Pampushky)
1. Combine warm water, sugar, and yeast in a mixing bowl. Let this mixture sit for 10 minutes until it becomes frothy—this means your yeast is active and ready to work its magic!
2. Add flour, salt, and olive oil to the yeast mixture. Stir everything together until a dough forms, bringing all the ingredients together into a cohesive mass.
3. Knead the dough on a floured surface for about 5 minutes until it’s smooth and elastic. This step is crucial as it develops the gluten, giving your Pampushky that delightful texture!
4. Place the dough in a greased bowl, cover it with a cloth, and let it rise for 1 hour in a warm spot. You’ll know it’s ready when it has doubled in size—watching this transformation is always rewarding!
Bake the Pampushky:
5. Preheat your oven to 375°F (190°C). This ensures that your Pampushky will bake evenly and achieve that beautiful golden color.
6. Punch down the risen dough gently to release any trapped air, then divide it into small balls. Each ball should be about the size of a golf ball for perfect portions.
7. Place the dough balls on a baking sheet lined with parchment paper and let them rise for another 30 minutes. This second rise allows them to become fluffy as they prepare for baking.
8. Mix melted butter with minced garlic, chopped parsley, and salt for the topping. This aromatic blend will infuse each Pampushka with rich flavor—just wait until you smell it!
9. Brush the garlic mixture generously over each dough ball, ensuring every bit gets coated in that delicious garlicky goodness.
10. Bake for 15 minutes or until golden brown on top. Your kitchen will fill with an irresistible aroma—be patient; they’ll be worth the wait!
Optional: Serve warm alongside your favorite soup or borscht for an authentic experience.
Exact quantities are listed in the recipe card below.
Expert Tips
- Yeast Activation: Make sure the water is warm, not hot. Too hot can kill the yeast, preventing your Ukrainian Garlic Bread (Pampushky) from rising.
- Kneading Time: Knead the dough just enough to develop gluten. Over-kneading can make the bread dense instead of light and airy.
- Rising Space: Place the dough in a warm, draft-free area to rise. If your kitchen is cool, consider turning on the oven briefly to create a cozy environment.
- Portion Control: When dividing the dough into balls, aim for uniform sizes. This ensures even baking—no one wants a doughy Pampushky!
- Garlic Blend: Mix your garlic topping thoroughly to ensure every bite is flavorful. Adjust garlic levels based on your family’s taste preferences.
- Baking Check: Keep an eye on the oven as baking times may vary. Remove them when they are golden brown for that perfect finish!
How to Store and Freeze Ukrainian Garlic Bread (Pampushky)
- Room Temperature: Keep your Ukrainian Garlic Bread (Pampushky) in an airtight container for up to 2 days to maintain freshness and flavor.
- Fridge: For longer storage, place the bread in the fridge, wrapped tightly in plastic wrap or foil. It will stay good for up to 5 days.
- Freezer: To freeze, slice the Pampushky and wrap each piece in plastic wrap, then store in a freezer bag. They can last up to 3 months.
- Reheating: Reheat the bread in a preheated oven at 350°F (175°C) for about 10 minutes for a warm, fresh taste!
Ukrainian Garlic Bread (Pampushky) Your Way
Feel free to get creative and personalize this delightful bread with your favorite flavors and ingredients!
- Whole Wheat: Substitute half of the all-purpose flour with whole wheat flour for a nuttier flavor and added fiber. The texture will be denser, but it brings a wholesome heartiness that pairs beautifully with soups and stews.
- Herb-Infused: Add a teaspoon of dried oregano or thyme to the dough for an aromatic twist. This variation adds depth and fragrance, making each bite an experience to savor alongside your favorite dishes.
- Spicy Kick: Incorporate a pinch of red pepper flakes into the garlic topping for a little heat. This simple addition can elevate your Pampushky, creating a warm and inviting flavor that’s perfect for spice lovers.
- Cheesy Delight: Mix in 1 cup of shredded cheese, like mozzarella or cheddar, directly into the dough. The result is a gooey, cheesy center that melts beautifully, adding richness that complements the garlic perfectly.
- Vegan Option: Replace the butter with vegan margarine and skip the egg wash for a plant-based version. You won’t lose any flavor while making this bread accessible for those avoiding animal products.
- Garlic Lovers’ Dream: Increase the garlic in both the dough and topping for an intense burst of flavor. This variation is ideal for garlic enthusiasts looking to make their mark at the dinner table.
- Sweet Touch: Add a tablespoon of honey or maple syrup to the warm water before mixing it into the dough. This slight sweetness balances out the savory notes beautifully, creating a delightful contrast in every bite.
Make Ahead Options
Preparing Ukrainian Garlic Bread (Pampushky) in advance is a fantastic way to streamline your meal prep, especially if you’re planning a cozy family dinner. You can easily mix the dough using 3 cups of all-purpose flour, 1 packet of active dry yeast, 1 teaspoon of sugar, 1 teaspoon of salt, 1 cup of warm water, and 2 tablespoons of olive oil. Let the yeast activate for about 10 minutes before combining the ingredients and kneading for roughly 5 minutes until smooth. Once you’ve let it rise for an hour, you can punch it down and shape it into small balls. These can be refrigerated for up to 24 hours or frozen for up to 3 days before baking. Just remember to allow them to rise again for about 30 minutes after removing from the fridge. For the garlic topping, mixing together 4 minced garlic cloves, 1 tablespoon of chopped fresh parsley, and melted butter can also be done ahead of time; just keep it in the fridge until you’re ready to brush it on. When it’s time to serve your delightful Ukrainian Garlic Bread (Pampushky), simply preheat your oven to 375°F (190°C), brush on your garlic mixture, and bake for about 15 minutes until they are golden brown and irresistible!
Ukrainian Garlic Bread (Pampushky) Recipe FAQs
What type of flour is best for making Pampushky?
For the best results, I recommend using all-purpose flour. It provides the right balance of structure and tenderness needed for these delightful garlic bread rolls. If you want a heartier texture, you can substitute up to half of the all-purpose flour with whole wheat flour.
How do I know if my yeast is active?
To ensure your yeast is active, combine warm water (about 110°F or 43°C), sugar, and yeast in a bowl. Let it sit for about 10 minutes. If the mixture becomes frothy and bubbly, your yeast is good to go! If not, you might need to use fresh yeast.
Can I make Pampushky ahead of time?
Absolutely! You can prepare the dough and let it rise as directed, then punch it down and refrigerate it for up to 24 hours before shaping it into balls. Allow the dough to come back to room temperature and rise again before baking for that fresh-baked taste.
What’s the best way to store leftover Pampushky?
Store any leftover Pampushky in an airtight container at room temperature for up to two days. If you want them to last longer, wrap them tightly in plastic wrap and freeze them for up to three months. Reheat them in a warm oven before serving!
How can I adjust this recipe for dietary restrictions?
If you’re looking for a gluten-free option, you can use a gluten-free all-purpose flour blend instead of regular flour. For dairy-free versions, substitute the butter with vegan margarine or olive oil in the garlic topping.
How many servings does this recipe yield?
This recipe makes about 4 servings, with each serving containing approximately 150 calories. However, you can easily double or halve the recipe depending on your needs—just keep an eye on baking times if you change the quantity!
Ukrainian Garlic Bread (Pampushky)
Ingredients
Method
- In a mixing bowl, combine warm water, sugar, and yeast. Let it sit for 10 minutes until frothy.
- Add flour, salt, and olive oil to the yeast mixture. Mix until a dough forms.
- Knead the dough on a floured surface for about 5 minutes until smooth.
- Place the dough in a greased bowl, cover, and let it rise for 1 hour.
- Preheat the oven to 375°F (190°C).
- Punch down the risen dough and divide it into small balls.
- Place the dough balls on a baking sheet and let them rise for another 30 minutes.
- Mix melted butter, minced garlic, parsley, and salt for the topping.
- Brush the garlic mixture over the dough balls.
- Bake for 15 minutes or until golden brown.
Leave a Comment