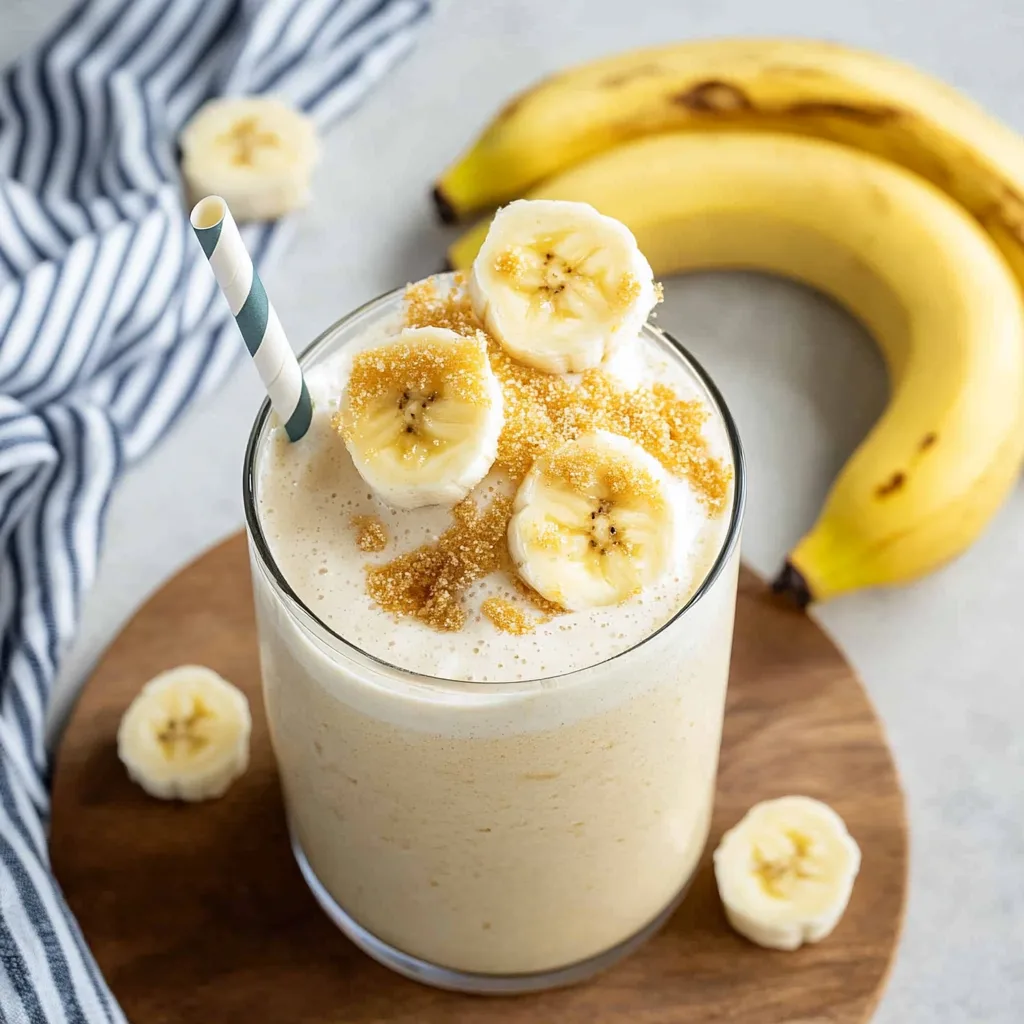
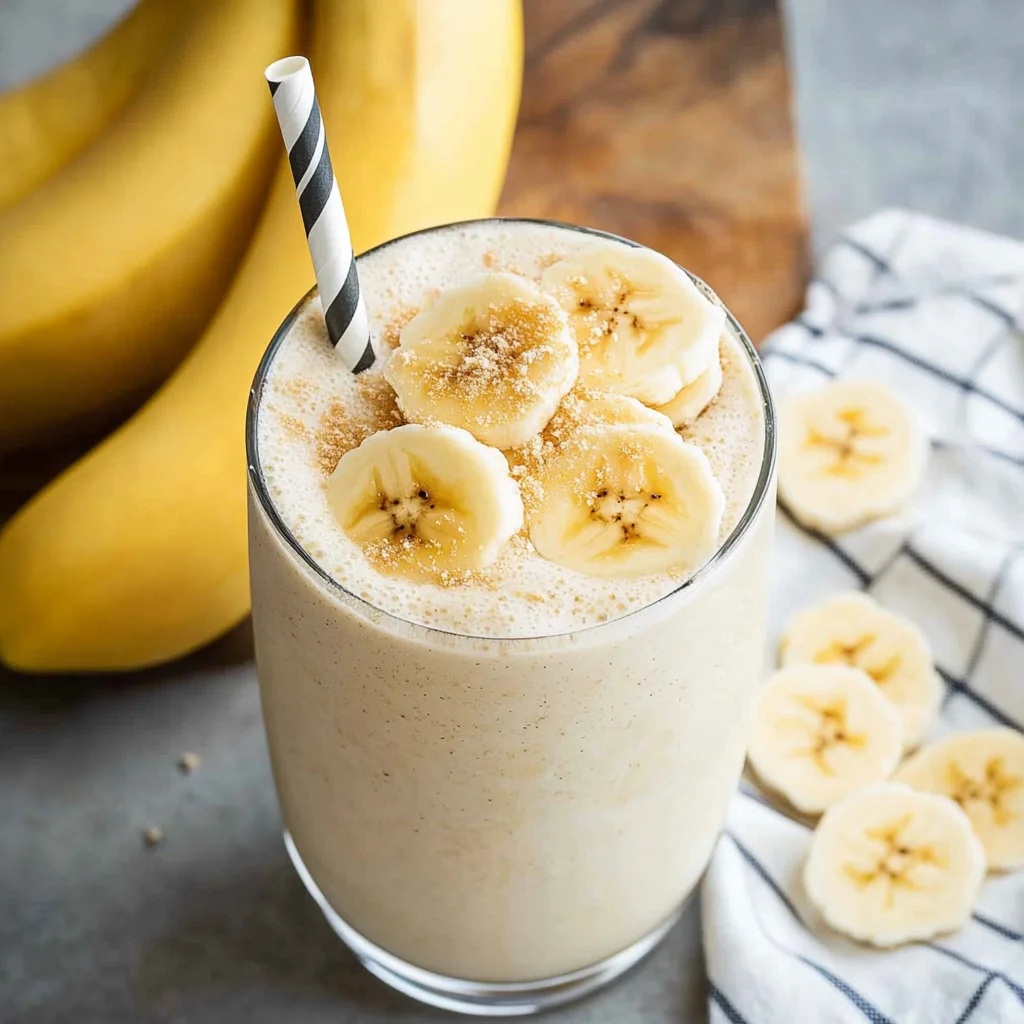
Imagine a frosty glass of banana milkshake, where the rich creaminess dances with the sweet, golden flavor of ripe bananas, enticing your taste buds with every sip. The luscious texture is complemented by a hint of vanilla, creating an irresistible aroma that wafts through the air, making it impossible to resist—perfect for a sunny afternoon or a late-night snack craving.
As you take that first delightful gulp, memories of childhood summer days spent at the local diner flood back, where laughter mingled with the sound of ice cream machines whirring. This banana milkshake isn’t just a drink; it’s a nostalgic journey that beckons you to relive those carefree moments, building anticipation for an unforgettable flavor experience that brings joy to any occasion.
What Makes Banana Milkshake So Special?
Creamy goodness: This banana milkshake is a delightful blend of ripe bananas and your choice of milk, creating a rich, velvety texture.
Quick prep: With just 5 minutes to whip up, it’s the perfect solution for a last-minute treat.
Flavorful twist: Enhance the sweetness with honey or indulge in a scoop of vanilla or banana ice cream for a decadent finish.
Versatile delight: Perfect as a refreshing snack, post-workout boost, or dessert that everyone will love!
Crowd-pleaser: Kids and adults alike can’t resist this deliciously smooth shake that brings smiles all around.
Banana Milkshake Ingredients
- 2 large bananas (ripe) – Choose ripe bananas for optimal sweetness and creaminess in your Banana Milkshake.
- 2 cups milk (any kind) – Whole, almond, or oat milk work beautifully to create a rich and creamy texture.
- 2 tablespoons honey (optional) – Add for a touch of natural sweetness, especially if your bananas aren’t very ripe.
- 1 cup ice cream (vanilla or banana flavor) – This adds a luscious creaminess and elevates the milkshake to a delightful treat.
How to Make Banana Milkshake
1. Peel the bananas and place them in the blender.
Start by gently peeling your ripe bananas, ensuring they’re perfectly sweet and soft for that creamy texture. Just toss them right into your blender!
2. Add the milk, honey, and ice cream to the blender.
Pour in 2 cups of milk—any kind you love! If you want a hint of sweetness, drizzle in 2 tablespoons of honey, then scoop in 1 cup of your favorite vanilla or banana ice cream.
3. Blend until smooth and creamy.
Secure the lid tightly and blend until everything is beautifully combined—about 30 seconds should do it. You’re looking for a luscious, velvety consistency with no chunks!
4. Pour into glasses and serve immediately.
Gently pour your delightful Banana Milkshake into chilled glasses, watching it swirl with that creamy goodness. Serve right away to enjoy its refreshing chill!
Optional: Top with whipped cream and a sprinkle of cinnamon for an extra treat!
Exact quantities are listed in the recipe card below.
Expert Tips
- Banana Ripeness: Use ripe bananas for the sweetest flavor and creamy texture. Overripe bananas are perfect for a rich banana milkshake.
- Milk Variety: Experiment with different types of milk, like almond or oat, to add unique flavors. Just ensure they complement the banana nicely!
- Sweetness Balance: Adjust the honey based on your taste preference and the ripeness of your bananas. You may not need it if the bananas are very sweet.
- Ice Cream Choices: Vanilla ice cream works well, but banana-flavored ice cream intensifies the taste. Choose according to your love for bananas!
- Blending Time: Blend until smooth but avoid over-blending, as this can make your banana milkshake too thin. Aim for that perfect creamy consistency!
How to Store and Freeze Banana Milkshake
Fridge: Store your Banana Milkshake in an airtight container for up to 3 days. Stir well before serving, as separation may occur.
Freezer: If you want to save it longer, freeze the milkshake in ice cube trays or a freezer-safe container for up to 2 months. Blend again before enjoying!
Room Temperature: It’s best not to leave your Banana Milkshake out for more than 2 hours. After that, it should be refrigerated or discarded for safety.
Reheating: There’s no need to reheat; simply blend with a bit of milk if frozen, or enjoy chilled from the fridge!
Banana Milkshake Your Way
Feel free to get creative and make this delightful treat truly your own with these fun variations!
- Dairy-Free: Use almond, oat, or coconut milk instead of regular milk for a creamy, dairy-free delight. These alternatives add a unique twist while ensuring everyone can enjoy this refreshing drink.
- Sweeten It Up: Substitute honey with maple syrup or agave nectar for a different kind of sweetness. Both options bring a rich flavor that pairs beautifully with the bananas.
- Nutty Twist: Add a tablespoon of peanut butter or almond butter for a nutty richness. This variation transforms your milkshake into a satisfying snack packed with protein.
- Berry Boost: Toss in a handful of fresh or frozen strawberries or blueberries for an extra fruity kick. This not only enhances the flavor but also adds vibrant color to your shake.
- Chocolate Delight: Mix in chocolate syrup or cocoa powder for a chocolate-banana combo that’s hard to resist. This indulgent variation is perfect for chocolate lovers looking to satisfy their sweet tooth.
- Spicy Kick: A pinch of cinnamon or even cayenne pepper can add warmth and depth to your milkshake. Experimenting with spices can elevate the taste and surprise your palate!
- Frozen Treats: Swap out ice cream for frozen yogurt or sorbet for a lighter version that still feels like a treat. You’ll get a refreshing spin on the classic while keeping it cool and creamy.
- Coconut Creaminess: Add coconut milk and shredded coconut flakes for an exotic twist. The tropical flavor will transport you straight to paradise with every sip!
Make Ahead Options
Preparing a creamy and delicious Banana Milkshake is a breeze, making it a perfect choice for meal prep enthusiasts. You can peel the ripe bananas and store them in an airtight container in the refrigerator for up to 24 hours. Additionally, you can measure out the milk and honey, keeping them in separate containers. The ice cream should remain in the freezer until you’re ready to blend. When you’re set to serve, simply toss the prepped ingredients into the blender—bananas, milk, honey, and ice cream—and blend until smooth and creamy. This way, you’ll enjoy a refreshing treat without any hassle, saving valuable time on busy days!
Banana Milkshake Recipe FAQs
What type of bananas are best for a milkshake?
Ripe bananas are the star of this creamy delight! Look for bananas with brown spots, as they’re sweeter and blend beautifully, giving your milkshake that luscious flavor.
Can I use non-dairy milk in my banana milkshake?
Absolutely! You can substitute the 2 cups of regular milk with any non-dairy alternatives like almond, oat, or coconut milk. Just keep in mind that each type will slightly change the flavor profile, but they all create a deliciously creamy shake.
How should I store leftover banana milkshake?
If you happen to have any leftovers (which is rare!), pour the remaining milkshake into an airtight container and store it in the refrigerator for up to 24 hours. When you’re ready to enjoy it again, give it a good shake or stir, as it may separate slightly.
Can I freeze my banana milkshake?
Yes, you can freeze your banana milkshake! Pour it into ice cube trays or freezer-safe containers and freeze for up to 1 month. To enjoy, simply blend the frozen cubes with a splash of milk for a refreshing treat on hot days!
Why is my banana milkshake not thick enough?
If your shake turns out thinner than expected, try adding more ice cream or a bit more ripe banana during blending. You can also reduce the amount of liquid (milk) to achieve that dreamily thick consistency everyone loves!
How many servings does this recipe make?
This delightful banana milkshake recipe yields about 4 servings. Each serving is around 250 calories, making it a perfect treat for sharing with family or friends!
Banana Milkshake
Ingredients
Method
- Peel the bananas and place them in the blender.
- Add the milk, honey, and ice cream to the blender.
- Blend until smooth and creamy.
- Pour into glasses and serve immediately.
Leave a Comment