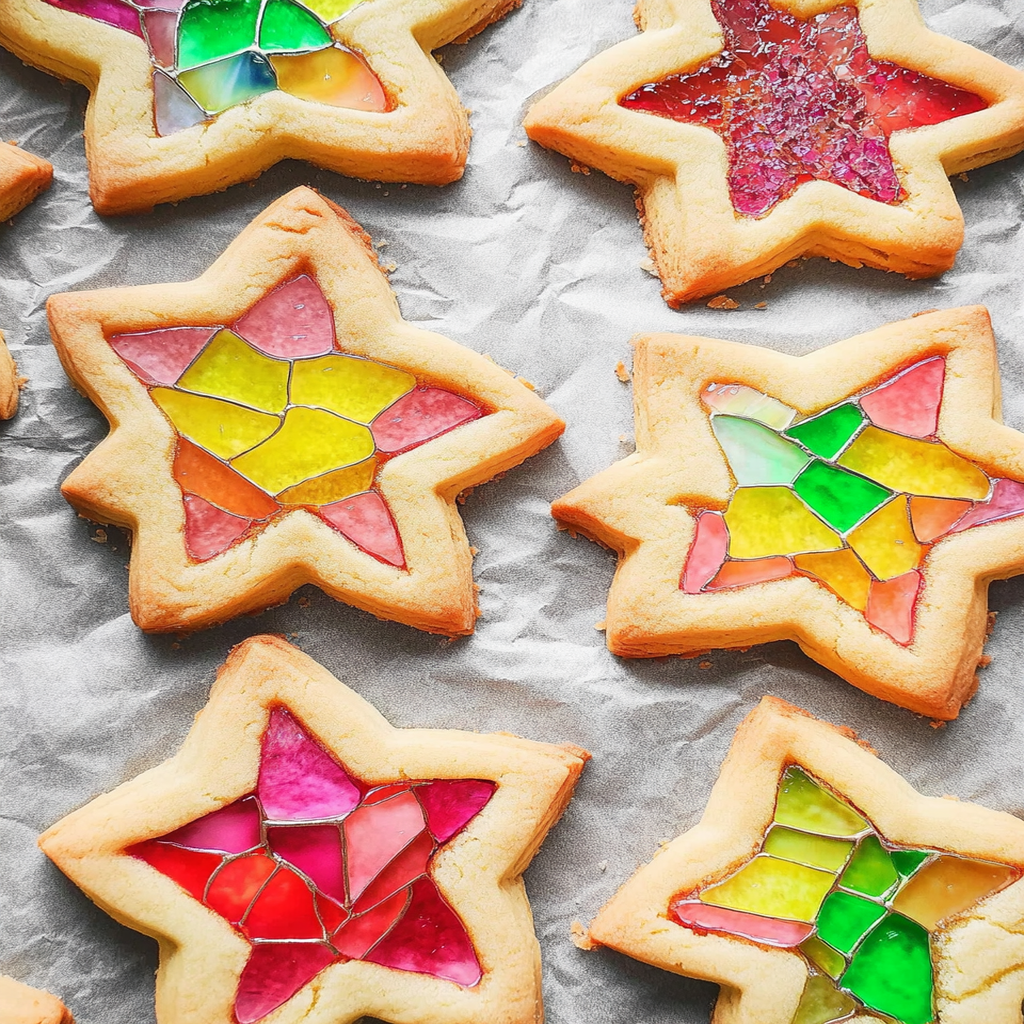
Stained Glass Cookies are like edible works of art that will make your eyes twinkle and your taste buds sing! Imagine biting into a crisp, buttery cookie that shatters slightly to reveal a kaleidoscope of colorful candy windows. The sweet aroma wafts through the air, inviting everyone to gather around as they marvel at these delightful treats. birthday cake Oreo cookies Oreo raspberry cheesecake cookies Perfect for holidays or festive gatherings, these cookies bring joy and whimsy, making them a cherished tradition in many homes.
As you embark on this culinary adventure, you’ll find that Stained Glass Cookies not only look stunning but also pack a flavor punch. With each bite, you experience the delicate crunch paired with the sugary sweetness of melted candies. They evoke fond memories of family baking sessions full of laughter and sticky fingers—ideal for sharing with loved ones!
Why You'll Love This Recipe
- These Stained Glass Cookies are surprisingly easy to whip up, perfect for bakers of all levels.
- The vibrant colors and shapes make them visually captivating for any occasion.
- Each cookie is a delightful mix of crunchy and chewy textures that dance on your palate.
- You can customize them with various candies for endless flavor combinations and styles!
Ingredients for Stained Glass Cookies
Here’s what you’ll need to make this delicious dish:
- All-Purpose Flour: This is the backbone of your cookie dough, providing structure and chewiness.
- Unsalted Butter: Use room temperature butter for optimal creaming; it adds richness and flavor.
- Sugar: Granulated sugar sweetens the dough, while powdered sugar can be used for dusting later.
- Eggs: One large egg helps bind everything together while adding moisture.
- Baking Powder: This leavening agent gives your cookies a little lift and keeps them from being too dense.
- Salt: A pinch enhances all the flavors in your cookies, balancing sweetness perfectly.
- Candy (like Jolly Ranchers): Choose a variety of colors; they melt beautifully to create that stained glass effect
How to Make Stained Glass Cookies
Follow these simple steps to prepare this delicious dish:
Step 1: Preheat Your Oven
Start by preheating your oven to 375°F (190°C). Line two baking sheets with parchment paper so that your cookies don’t stick and clean-up is a breeze.
Step 2: Mix Your Dry Ingredients
In a mixing bowl, whisk together the flour, baking powder, and salt. This step ensures even distribution of the leavening agent and seasoning throughout your dough.
Step 3: Cream Butter and Sugar
In another bowl, cream together the softened unsalted butter and granulated sugar until light and fluffy. This should take about three minutes—perfect time to practice your stand-up comedy routine!
Step 4: Add Eggs
Beat in one egg until fully incorporated. You might want to add a splash of vanilla extract here—because who doesn’t love vanilla? It’s like giving your cookies an extra hug!
Step 5: Combine Wet and Dry Ingredients
Gradually blend the dry mixture into the wet mixture until just combined. Avoid overmixing; we want tender cookies—not tough ones ready for an arm-wrestling match!
Step 6: Create Candy Centers
Roll out small pieces of dough into balls and flatten them slightly on the baking sheet. Now comes the fun part! Make an indentation in the center of each cookie using your thumb or a spoon—this is where your crushed candies will go.
Step 7: Fill With Candy
Fill each indentation with crushed candy pieces. Use different colors for an eye-catching effect—like creating little stained glass masterpieces!
Step 8: Bake
Pop those beauties into the preheated oven for about 8-10 minutes or until lightly golden around the edges. Keep an eye on them; you want those candies melted but not bubbling over like an excited pot on a stove!
Step 9: Cool Down
Let the cookies cool on the baking sheet for a few minutes before transferring them to wire racks to cool completely. Admire their beauty before diving in!
Transfer to plates and serve these delightful Stained Glass Cookies at parties or surprise someone special with an unexpected treat—they are sure to brighten up anyone’s day!
You Must Know
- Stained glass cookies offer a delightful way to combine creativity and baking.
- Not only are they visually stunning, but they also taste fantastic.
- The vibrant colors from the candy make these cookies a showstopper for any occasion, bringing joy to both kids and adults alike.
Perfecting the Cooking Process
Begin by preparing your dough first, allowing it to chill while you crush up the candies. Shape the cookies, then bake them gently until golden. This sequence ensures your cookies turn out perfectly every time.
Add Your Touch
Feel free to swap out the traditional sugar cookie base for gingerbread or chocolate dough. You can also experiment with different types of hard candies for various colors and flavors; creativity knows no bounds in cookie-making!
Storing & Reheating
Keep your stained glass cookies in an airtight container at room temperature for up to a week. If you want to enjoy them warm again, pop them in the microwave for just a few seconds.
Chef's Helpful Tips
- Use room temperature butter for a smoother dough that’s easier to work with.
- Make sure to crush candies into small pieces for even melting.
- Always keep an eye on baking time to avoid overcooking those beautiful cookies.
Creating stained glass cookies reminds me of a holiday gathering where my niece declared them “magical.” Seeing her eyes light up as she bit into one made all the flour and sugar worth it!
FAQs:
What are Stained Glass Cookies?
Stained Glass Cookies are delightful treats that feature colorful, translucent candy centers. These cookies are typically made from a sugar cookie dough that is rolled out and cut into shapes. The unique aspect of these cookies lies in the use of crushed hard candies placed in the center before baking, which melt and create a beautiful stained glass effect. They are perfect for holidays, special occasions, or simply to brighten your day.
How do I make the candy center for Stained Glass Cookies?
To make the candy center for Stained Glass Cookies, you’ll need to crush hard candies like Jolly Ranchers or Life Savers into small pieces. You can place the candies in a plastic bag and use a rolling pin to crush them gently. Once your cookie shapes are cut out, fill each shape’s center with the crushed candy before baking. As the cookies bake, the candy melts to form a vibrant, glossy center.
Can I use different flavors for Stained Glass Cookies?
Absolutely! You can experiment with various flavors of hard candies when making Stained Glass Cookies. Using different flavored candies can add an exciting twist to your cookies. For instance, try mixing fruity flavors or using peppermint candies for a festive touch during the winter holidays. Just ensure that the colors complement each other for that stunning stained glass look.
How should I store Stained Glass Cookies?
To keep your Stained Glass Cookies fresh, store them in an airtight container at room temperature. This will help maintain their texture and prevent them from becoming stale. If you want to extend their shelf life, consider refrigerating them; however, be aware that this may slightly alter their texture. For best results, consume within one week to enjoy their vibrant colors and delicious taste.
Conclusion for Stained Glass Cookies:
In conclusion, Stained Glass Cookies are not only visually stunning but also incredibly delicious. With their simple sugar cookie base and striking candy centers, they become an impressive treat for any occasion. By experimenting with different flavors and colors of hard candies, you can customize these cookies to suit any theme or celebration. Remember to enjoy them fresh and store properly to maintain their delightful appearance and taste. Happy baking!
Stained Glass Cookies

Stained Glass Cookies are a whimsical delight that combines creativity and flavor in a buttery sugar cookie base. Adorned with vibrant, melted candies, these cookies create a stunning stained glass effect that will surely impress your guests. With a satisfying crunch followed by a burst of sweetness, they are perfect for holidays, parties, or just to brighten your day. Easy to make and customize, this recipe invites bakers of all levels to gather around and enjoy the fun of cookie decorating!
- Prep Time: 20 minutes
- Cook Time: 10 minutes
- Total Time: 30 minutes
- Yield: Approximately 24 cookies 1x
- Category: Dessert
- Method: Baking
- Cuisine: General
Ingredients
- 2 ½ cups all-purpose flour
- ¾ cup unsalted butter, softened
- 1 cup granulated sugar
- 1 large egg
- 1 tsp baking powder
- ½ tsp salt
- 1 cup crushed hard candies (e.g., Jolly Ranchers)
Instructions
- Preheat your oven to 375°F (190°C) and line two baking sheets with parchment paper.
- In a bowl, whisk together flour, baking powder, and salt.
- In another bowl, cream the softened butter and sugar until light and fluffy.
- Beat in the egg until combined; optionally add vanilla extract for extra flavor.
- Gradually mix the dry ingredients into the wet mixture until just combined.
- Roll dough into small balls, flatten slightly on the baking sheet, and make an indentation in each cookie center.
- Fill each indentation with crushed candies.
- Bake for 8-10 minutes or until edges are lightly golden.
- Allow cooling on the baking sheet for a few minutes before transferring to wire racks.
Nutrition
- Serving Size: 1 serving
- Calories: 120
- Sugar: 10g
- Sodium: 50mg
- Fat: 6g
- Saturated Fat: 4g
- Unsaturated Fat: 2g
- Trans Fat: 0g
- Carbohydrates: 16g
- Fiber: <1g
- Protein: 1g
- Cholesterol: 20mg
Leave a Comment