Chocolate Thumbprint Cookies are like little morsels of happiness wrapped in a sweet, chocolatey embrace. Just picture it: a soft, chewy cookie with a luscious chocolate center that beckons you to take a bite. The aroma wafts through your kitchen, and the mere thought of these cookies sends your taste buds into a delightful frenzy. Peach Cheesecake for a delightful finish Whether it’s a rainy afternoon or a cozy evening with friends, there’s no wrong time for Chocolate Thumbprint Cookies to steal the show.
These cookies have an uncanny ability to bring people together. I remember the first time I made them; my kitchen looked like a flour bomb exploded, and my dog was suspiciously silent—probably plotting how to score some cookie dough. The joy on everyone’s faces when I served them was priceless. These cookies are perfect for birthdays, holidays, or just because you deserve something sweet today. Get ready for an explosion of flavor that will have everyone asking for seconds!
Why You'll Love This Recipe
- These Chocolate Thumbprint Cookies are incredibly straightforward to whip up, making baking feel like a breeze.
- Their rich chocolate flavor paired with gooey centers offers an irresistible treat.
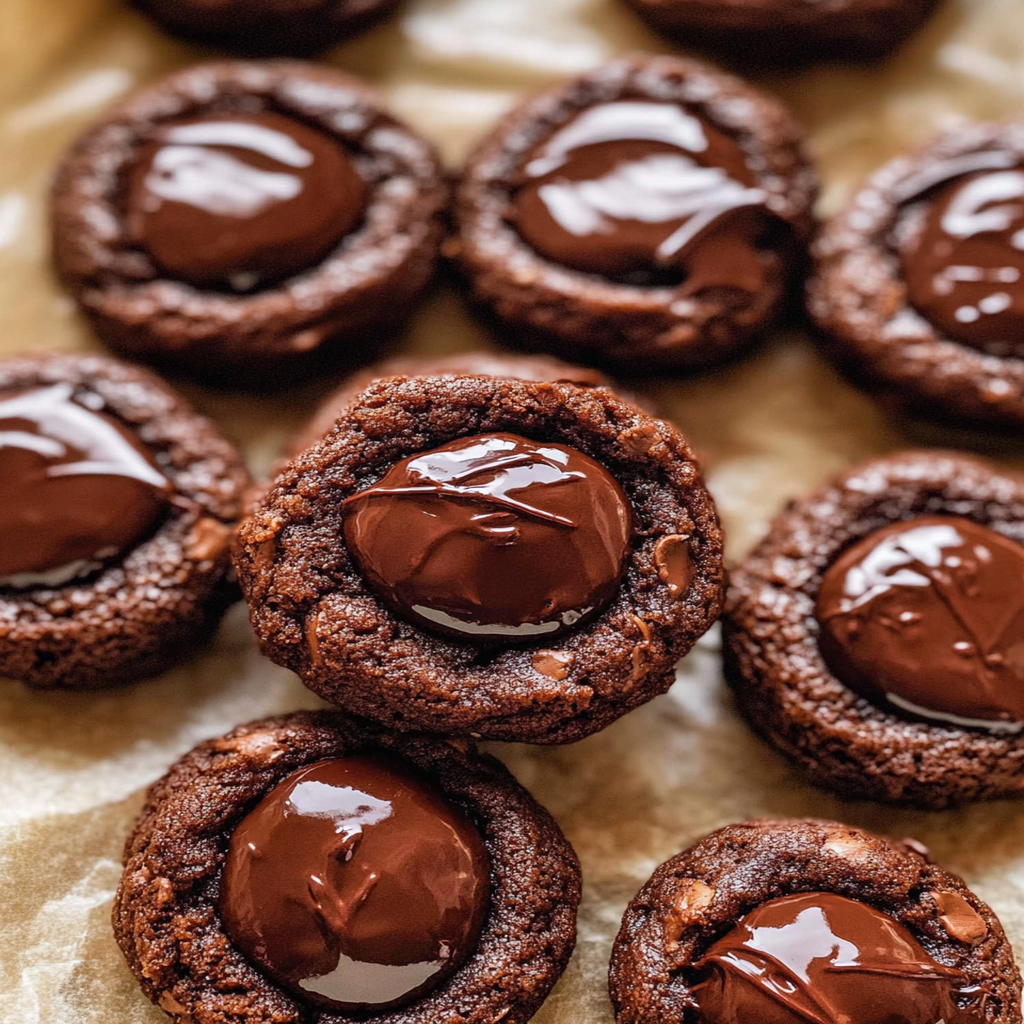
- Visually appealing with their glossy chocolate centers, they make for stunning dessert table displays.
- Perfectly versatile for any occasion, from casual gatherings to festive celebrations, they never fail to impress!
Ingredients for Chocolate Thumbprint Cookies
Here’s what you’ll need to make this delicious dish:
- All-Purpose Flour: This is the foundation of your cookies. Choose unbleached flour for a more natural flavor.
- Cocoa Powder: Use unsweetened cocoa powder to give your cookies that deep chocolate flavor without extra sweetness.
- Granulated Sugar: This sweetens the batter and helps create that perfect chewy texture.
- Brown Sugar: Packed brown sugar adds moisture and a hint of caramel flavor.
- Butter: Softened butter is key for achieving that melt-in-your-mouth consistency.
- Eggs: One large egg binds the ingredients together and provides richness.
- Vanilla Extract: A splash of vanilla enhances all the flavors beautifully.
- Chocolate Chips: Semi-sweet chocolate chips make the perfect filling in your thumbprints.
How to Make Chocolate Thumbprint Cookies
Follow these simple steps to prepare this delicious dish:
Step 1: Preheat Your Oven
Preheat your oven to 350°F (175°C). While it warms up, line two baking sheets with parchment paper—this will help prevent sticking and make cleanup easier.
Step 2: Mix Dry Ingredients
In a bowl, whisk together the all-purpose flour, cocoa powder, baking soda, and salt until well combined. Set aside your dry mixture because it’s about to get chocolaty!
Step 3: Cream Butter and Sugars
In another larger mixing bowl, beat together the softened butter, granulated sugar, and brown sugar until creamy and light in color. You can use an electric mixer or channel your inner arm wrestler if you’re feeling strong!
Step 4: Add Egg and Vanilla
Add in the egg and vanilla extract to your buttery mixture and continue beating until completely incorporated. The batter should be smooth and silky—just like you after one too many cookies!
Step 5: Combine Wet and Dry Ingredients
Gradually add your dry mixture into the wet ingredients while mixing on low speed until everything is just combined. Do not overmix; we want tender cookies here!
Step 6: Form Cookie Dough Balls
Scoop out tablespoon-sized amounts of dough and roll them into balls. Place them on the prepared baking sheets about two inches apart—these babies spread!
Step 7: Create Thumbprints
Use your thumb (or the end of a wooden spoon) to gently press down in the center of each cookie ball—creating those iconic thumbprints that will hold all that melted chocolate goodness.
Step 8: Bake
Bake in your preheated oven for about 10-12 minutes or until set around the edges but still soft in the middle. While they’re baking, melt some chocolate chips in a microwave-safe bowl until smooth.
Step 9: Fill with Chocolate
Remove the cookies from the oven and immediately fill each thumbprint with melted chocolate using a teaspoon or piping bag if you’re feeling fancy.
Step 10: Cool Down
Allow them to cool on wire racks before indulging! You can admire their beauty while trying not to eat them all at once—good luck with that!
Transfer to plates and serve these delightful Chocolate Thumbprint Cookies warm or store them in an airtight container at room temperature for up to one week (if they last that long). Enjoy every gooey bite!
You Must Know
- Chocolate thumbprint cookies are the perfect blend of rich cocoa and sweet jam, making them an irresistible treat.
- With a simple recipe, you can whip these up for any occasion.
- Their delightful presentation will impress family and friends, turning snack time into a mini celebration.
Perfecting the Cooking Process
Start by preheating your oven and preparing your baking sheet. Mix the cookie dough while the butter softens. Shape your cookies and create thumbprints before baking to ensure even cooking and a gooey center.
Add Your Touch
Feel free to swap chocolate for other flavors like peanut butter or almond extract. You can also use different jams or fillings, such as raspberry or lemon curd, to make each batch unique and delicious.
Storing & Reheating
Store leftover cookies in an airtight container at room temperature for up to one week. If you need to reheat, pop them in the microwave for about 10 seconds to regain their chewy texture.
Chef's Helpful Tips
- For perfect chocolate thumbprint cookies, chill the dough before baking to prevent spreading.
- Use a measuring spoon for consistent thumbprint sizes.
- Always choose high-quality jam for the best flavor impact on your cookies.
Sometimes I sneak a few extra cookies into my lunchbox just for myself; they never make it home! The smiles on my family’s faces when they discover these treats are worth every calorie.
FAQs :
What are Chocolate Thumbprint Cookies?
Chocolate thumbprint cookies are delectable treats characterized by their rich chocolate flavor and a unique indentation in the center. This indentation is typically filled with jam, chocolate ganache, or icing. Fruity Gelatin Cups for freshness These cookies are perfect for holiday gatherings, parties, or simply enjoying with a cup of coffee. Their combination of soft texture and sweet filling makes them irresistible to cookie lovers everywhere.
How do I store Chocolate Thumbprint Cookies?
To keep your chocolate thumbprint cookies fresh, store them in an airtight container at room temperature. They can last for about a week when stored properly. If you want to extend their shelf life, consider freezing them. Place the cookies in a freezer-safe container with parchment paper between layers to prevent sticking. Thaw them at room temperature before serving for the best taste and texture.
Can I customize the filling for Chocolate Thumbprint Cookies?
Absolutely! While traditional fillings include fruit jams or chocolate ganache, you can get creative with your choices. Consider using peanut butter, Nutella, or even caramel sauce for a unique twist. The base cookie recipe remains the same, allowing you to experiment with various flavors and textures that suit your preferences.
Are Chocolate Thumbprint Cookies suitable for gluten-free diets?
Yes, you can make chocolate thumbprint cookies gluten-free by substituting all-purpose flour with your favorite gluten-free flour blend. Ensure that all other ingredients are also gluten-free. Many people enjoy these cookies without any issues, making them a delightful treat for those who follow gluten-free diets while still enjoying classic flavors.
Conclusion for Chocolate Thumbprint Cookies :
Chocolate thumbprint cookies offer a delightful balance of rich chocolate flavor and sweet fillings that appeal to many palates. Their easy preparation makes them a great choice for both novice and experienced bakers alike. Cookie Monster Cupcakes for fun With options to customize fillings and adapt recipes for dietary needs, these cookies can fit into any occasion or preference. Halloween Marble Cake to pair Enjoy baking and savoring these delicious treats with family and friends!
Chocolate Thumbprint Cookies

Chocolate Thumbprint Cookies are a delectable treat that perfectly balance rich chocolate flavor and gooey fillings. With their soft, chewy texture, these cookies are ideal for any occasion—from festive celebrations to cozy evenings at home. Easy to make and visually stunning, they’re sure to impress family and friends alike. Delight in every bite of these charming confections!
- Prep Time: 15 minutes
- Cook Time: 12 minutes
- Total Time: 27 minutes
- Yield: Approximately 24 cookies 1x
- Category: Dessert
- Method: Baking
- Cuisine: American
Ingredients
- 1 cup all-purpose flour
- 1/3 cup unsweetened cocoa powder
- 1/2 cup granulated sugar
- 1/4 cup packed brown sugar
- 1/2 cup softened butter (113g)
- 1 large egg
- 1 teaspoon vanilla extract
- 1/2 cup semi-sweet chocolate chips
Instructions
- Preheat your oven to 350°F (175°C) and line two baking sheets with parchment paper.
- In a bowl, whisk together flour, cocoa powder, baking soda, and salt; set aside.
- In a separate bowl, cream together butter, granulated sugar, and brown sugar until light and fluffy.
- Beat in the egg and vanilla until well combined.
- Gradually mix the dry ingredients with the wet ingredients until just combined; avoid overmixing.
- Roll tablespoon-sized portions of dough into balls and place on baking sheets spaced two inches apart.
- Use your thumb to create an indentation in each cookie ball.
- Bake for 10-12 minutes until set around the edges but still soft in the center.
- Remove from oven and fill each thumbprint with melted chocolate using a teaspoon or piping bag.
- Let cool on wire racks before serving.
Nutrition
- Serving Size: 1 cookie (25g)
- Calories: 120
- Sugar: 8g
- Sodium: 50mg
- Fat: 7g
- Saturated Fat: 4g
- Unsaturated Fat: 2g
- Trans Fat: 0g
- Carbohydrates: 13g
- Fiber: 1g
- Protein: 2g
- Cholesterol: 20mg
Leave a Comment