

Imagine sinking your teeth into a warm, flaky paratha, where the buttery layers melt in your mouth, each bite bursting with savory flavors that dance on your palate. The tantalizing aroma wafts through the air, inviting you to indulge in this delightful Indian flatbread that can be filled with everything from spiced potatoes to fragrant paneer, making it a versatile favorite for any occasion.
I still remember the first time I savored one of these delectable treats, fresh off my grandmother’s griddle during family gatherings, where laughter mingled with the sizzling sounds of cooking. Whether it’s a cozy breakfast or a festive dinner party, nothing elevates the experience quite like sharing flaky and stuffed parathas with loved ones, promising an unforgettable flavor journey that will keep you coming back for more.
Why Will You Keep Making Paratha (Flaky and Stuffed)?
Deliciously versatile, this flaky flatbread can be filled with your favorite ingredients, making it perfect for breakfast, lunch, or dinner. Quick to prepare, you’ll have this delightful dish ready in just 45 minutes! Flavor-packed with spices like cumin and garam masala, each bite is a burst of authentic Indian taste. Crowd-pleasing and satisfying, it’s a guaranteed hit at family gatherings. Plus, it’s an opportunity to get creative—try different fillings to keep things exciting!
Paratha (Flaky and Stuffed) Ingredients
For the Dough
- 2 cups all-purpose flour – This forms the base of your paratha, creating a deliciously flaky texture.
- 1 teaspoon salt – Enhances the flavor of the dough, ensuring every bite is savory.
- 3/4 cup water (adjust as needed) – Use just enough to bring the dough together without making it sticky.
For the Filling
- 1 cup mashed potatoes – A comforting filling that adds heartiness to your paratha.
- 1/2 cup chopped onions – Adds sweetness and texture, balancing the flavors beautifully.
- 1 teaspoon cumin seeds – Provides a warm, earthy flavor that elevates the filling.
- 1 teaspoon coriander powder – Offers a fresh and citrusy note to complement the spices.
- 1 teaspoon garam masala – The secret blend that gives depth and warmth to your stuffing.
- Salt to taste – Adjust according to your preference for seasoning.
For Cooking
- 2 tablespoons ghee or oil – Ghee gives an authentic rich flavor, while oil keeps it light and crisp.
Directions: Paratha (Flaky and Stuffed)
1. Combine ingredients in a bowl by mixing 2 cups of all-purpose flour with 1 teaspoon of salt. Gradually pour in 3/4 cup of water, kneading until you have a soft, pliable dough.
2. Cover the dough with a damp cloth and let it rest for about 20 minutes. This allows the gluten to relax, making it easier to roll out later.
For the Filling:
3. Mix together 1 cup of mashed potatoes, 1/2 cup of chopped onions, 1 teaspoon of cumin seeds, 1 teaspoon of coriander powder, 1 teaspoon of garam masala, and salt to taste in a bowl. Ensure everything is well combined for a flavorful filling.
Make the Parathas:
4. Divide the rested dough into equal portions and roll each one into a ball. This ensures uniformity in size for cooking.
5. Flatten each ball gently with your palm, then place a spoonful of the potato filling in the center. Carefully fold the edges over to seal the filling inside.
6. Roll out the stuffed dough gently into a flat circle, taking care not to press too hard so that the filling doesn’t escape.
7. Heat a skillet over medium heat and add 2 tablespoons of ghee or oil. Cook each paratha until golden brown on both sides, about 2-3 minutes per side, ensuring it’s crispy yet flaky.
Optional: Serve with yogurt or pickles for an extra burst of flavor!
Exact quantities are listed in the recipe card below.
Pro Tips for Paratha (Flaky and Stuffed)
- Dough Consistency: Ensure your dough is soft but not sticky. Adjust water gradually to achieve the perfect texture for your paratha.
- Resting Time: Always cover your dough with a damp cloth for at least 20 minutes. This helps relax the gluten, making it easier to roll out.
- Filling Balance: Don’t overfill your parathas; use just enough filling to avoid bursting during cooking. A spoonful is usually perfect!
- Gentle Rolling: Roll out your stuffed dough gently and evenly. Applying too much pressure can cause the filling to leak out.
- Heat Control: Cook on medium heat; too high can burn the outside before the inside is cooked. Aim for a golden-brown finish on both sides.
- Ghee Application: Use ghee or oil generously while cooking to ensure a flaky texture in your parathas, enhancing flavor and crispiness.
How to Store and Freeze Paratha (Flaky and Stuffed)
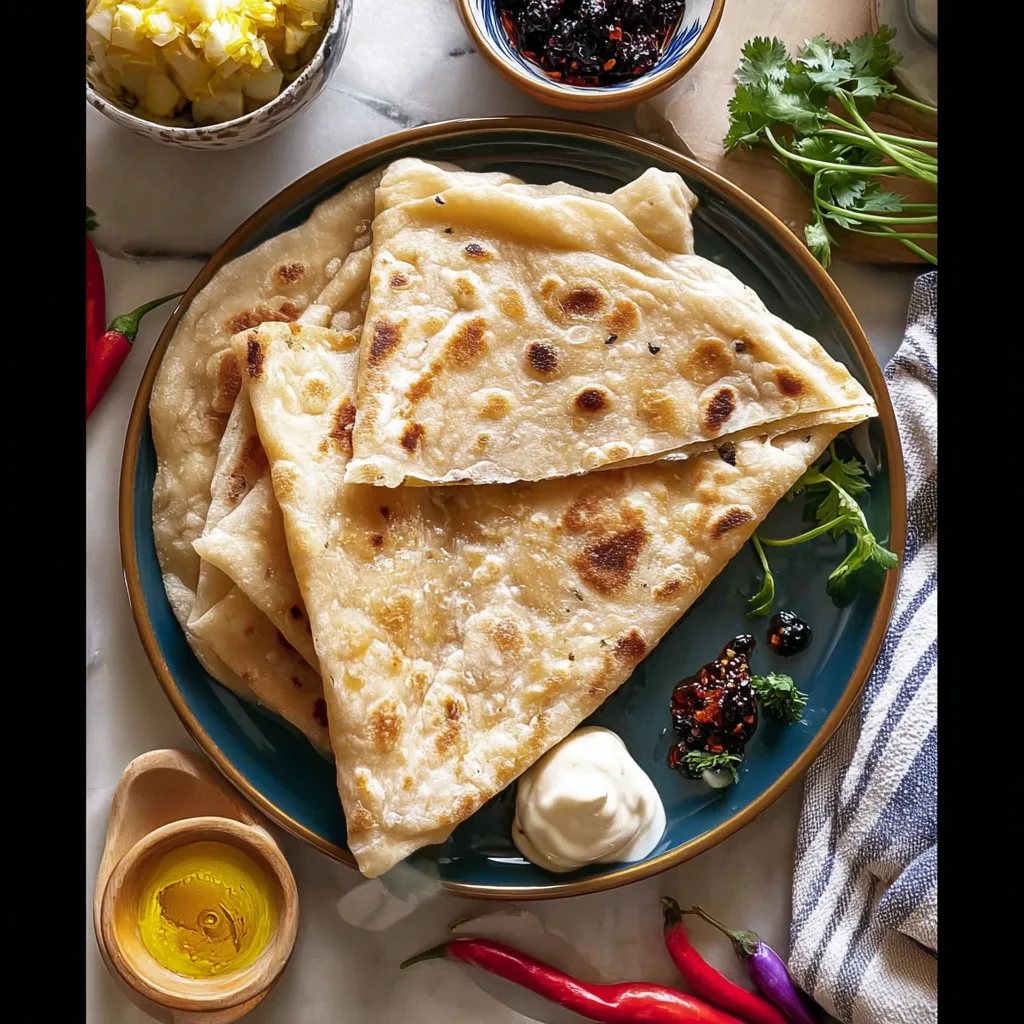
- Room Temperature: Keep freshly cooked parathas wrapped in a clean kitchen towel for up to 2 hours to maintain their warmth and softness.
- Fridge: Store leftover parathas in an airtight container or wrapped in plastic wrap for up to 3 days. Reheat on a skillet with a little ghee for the best texture.
- Freezer: For long-term storage, freeze parathas individually separated by parchment paper, then place them in a freezer-safe bag. They’ll stay fresh for up to 2 months.
- Reheating: To enjoy frozen parathas, thaw them in the fridge overnight, then reheat on a hot skillet with ghee until warm and crispy.
Make Paratha (Flaky and Stuffed) Your Own
Feel free to let your creativity shine by customizing this delightful flatbread with your favorite flavors and textures.
- Whole Wheat: Substitute half of the all-purpose flour with whole wheat flour for a nuttier flavor and added fiber. This variation not only enhances the taste but also makes the paratha a bit heartier and more wholesome.
- Spicy Kick: Add chopped green chilies or red chili powder to the filling for an exciting heat level. This twist will awaken your taste buds, making each bite a delicious adventure.
- Vegetable Medley: Mix in finely chopped spinach, carrots, or peas with the potato filling to pack in extra nutrients. This colorful addition not only boosts health benefits but also adds vibrant colors that appeal to the eyes.
- Cheesy Delight: Incorporate shredded cheese like cheddar or paneer into the filling for a creamy texture. The melty goodness creates a rich experience that will leave cheese lovers craving more.
- Herb Infusion: Experiment with fresh herbs like cilantro or mint in the filling for a refreshing twist. The aromatic notes of herbs elevate the flavor profile, giving your paratha a burst of freshness.
- Nutty Flavor: Add ground flaxseed or sesame seeds to the dough for added crunch and nutritional benefits. This subtle twist gives an exciting texture while enhancing the overall flavor without overwhelming it.
- Sweet Variation: For a sweet take, mash in some cooked sweet potatoes and a dash of cinnamon into the filling. This unique approach turns your paratha into an irresistible treat perfect for breakfast or dessert.
Make Ahead Options
Preparing Paratha (Flaky and Stuffed) is a breeze, making it an ideal candidate for meal prep! You can easily prepare the dough by mixing 2 cups of all-purpose flour with 1 teaspoon of salt and gradually adding 3/4 cup of water. Knead it until soft, cover it with a damp cloth, and let it rest for about 20 minutes. For the filling, combine 1 cup of mashed potatoes with 1/2 cup of chopped onions, a teaspoon each of cumin seeds, coriander powder, and garam masala, along with salt to taste. Both the dough and filling can be made up to 24 hours in advance and stored in the refrigerator. When you’re ready to serve, simply divide the rested dough into equal portions, fill them with the prepared mixture, roll them out gently, and cook on a skillet with ghee or oil until golden brown. This way, you enjoy delicious homemade parathas without the fuss on busy days!
Paratha (Flaky and Stuffed) Recipe FAQs
What type of flour is best for making parathas?
All-purpose flour is the preferred choice for making parathas as it gives them a light and flaky texture. If you’re looking for a healthier option, you can also use whole wheat flour, which adds a nutty flavor but may alter the texture slightly.
Can I prepare the filling in advance?
Absolutely! You can make the mashed potato filling ahead of time and store it in an airtight container in the refrigerator for up to 2 days. Just ensure it’s completely cooled before sealing to maintain its freshness.
How should I store leftover parathas?
If you have any leftover parathas, allow them to cool completely, then wrap them in foil or place them in an airtight container. They can be stored in the refrigerator for up to 3 days. To reheat, simply warm them on a skillet for a few minutes until they’re heated through.
Is it possible to freeze stuffed parathas?
Yes, you can freeze parathas! After cooking, let them cool completely, then layer them with parchment paper in between each paratha and place them in a freezer bag. They’ll keep well for up to 3 months. When ready to eat, just thaw and reheat on a skillet over medium heat.
What should I do if my dough is too sticky?
If your dough feels too sticky after kneading, don’t worry! Simply sprinkle a little more all-purpose flour onto your work surface and knead it into the dough until it reaches a soft yet manageable consistency. Remember, achieving that perfect dough may take some practice!
How many servings does this recipe make?
This recipe yields about 4 servings of delicious parathas, each packed with flavorful filling. With approximately 200 calories per serving, they make a satisfying meal or snack that your family will love!
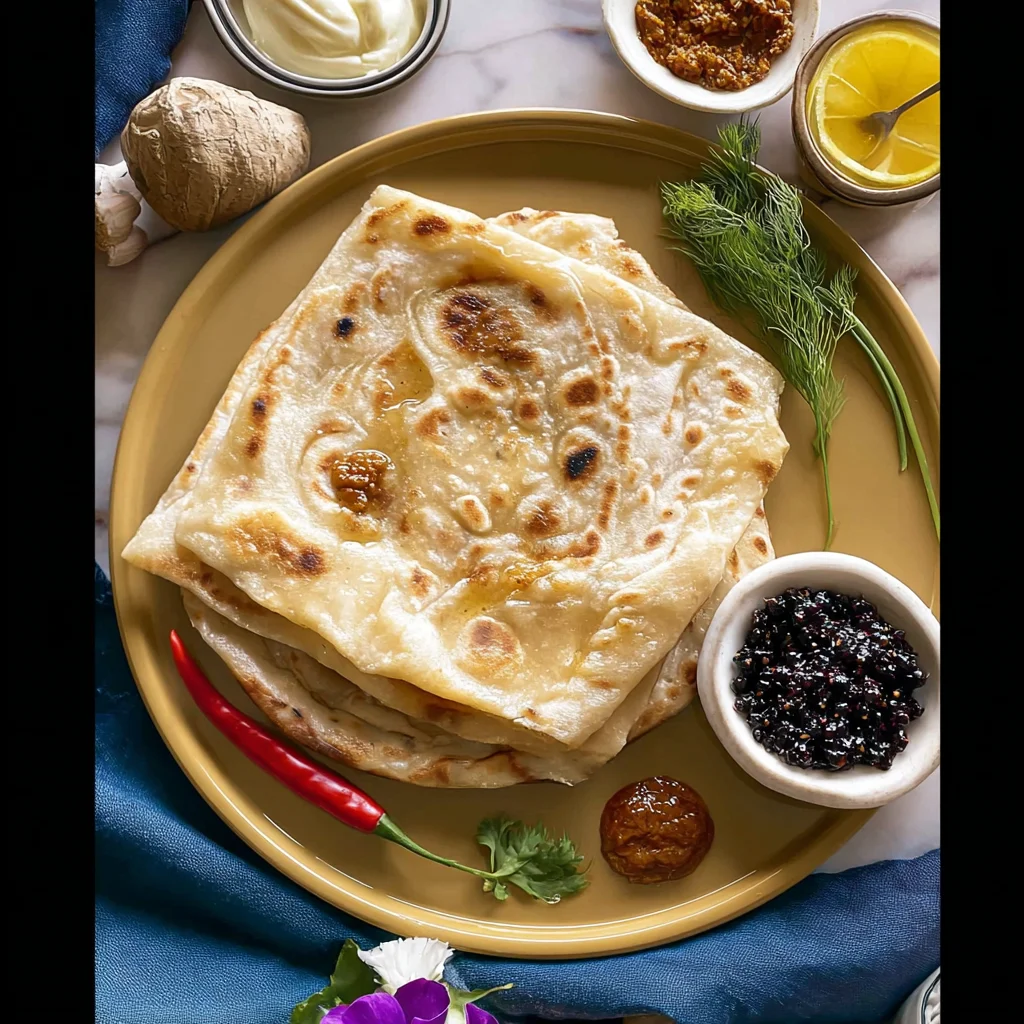
Paratha (Flaky and Stuffed)
Ingredients
Method
- In a mixing bowl, combine all-purpose flour and salt. Gradually add water and knead to form a soft dough.
- Cover the dough with a damp cloth and let it rest for 20 minutes.
- In a bowl, mix mashed potatoes, chopped onions, cumin seeds, coriander powder, garam masala, and salt.
- Divide the dough into equal portions and roll each portion into a ball.
- Flatten each ball, place a spoonful of filling in the center, and fold the edges to seal.
- Roll out the stuffed dough gently into a flat circle.
- Heat a skillet over medium heat and cook the paratha, applying ghee or oil until golden brown on both sides.