
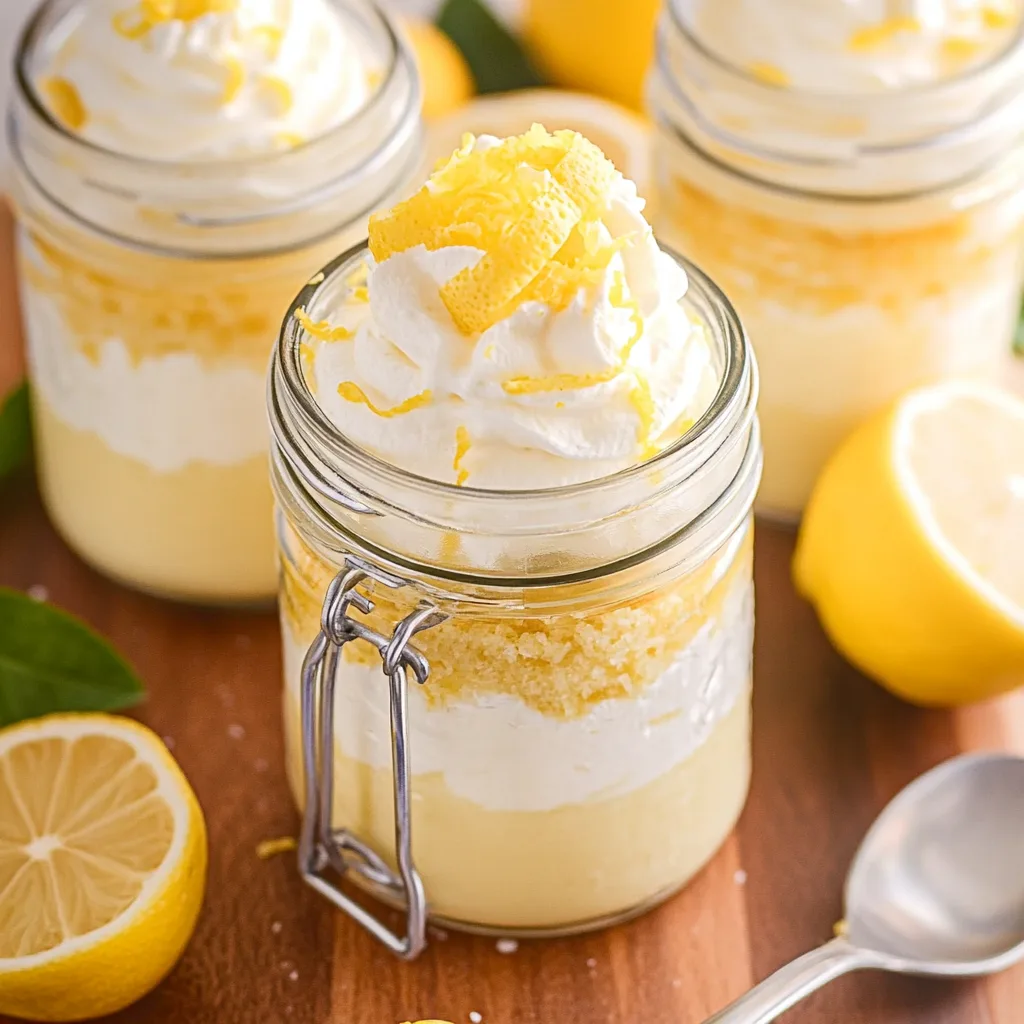
Imagine diving into a luscious No-Bake Lemon Cheesecake Jar, where the zesty burst of fresh lemons dances with the smooth, velvety creaminess that wraps around your taste buds like a warm hug. Each spoonful is a delightful blend of tangy and sweet, topped off with a hint of whipped cream that beckons you for just one more bite.
This dessert isn’t just about flavor; it’s a nostalgic trip down memory lane, reminding me of sunny afternoons spent in the kitchen with family, crafting treats that brought everyone together. Perfect for summer gatherings or cozy evenings, these charming jars promise to elevate any occasion and leave your guests buzzing with delight over the amazing flavor experience they just had.
Why Is No-Bake Lemon Cheesecake Jars So Irresistibly Good?
Refreshing flavor bursts with every spoonful, thanks to the zesty lemon juice and bright lemon zest. Effortless to make, this recipe requires just 15 minutes of prep time, letting you enjoy dessert without the fuss. Versatile enough for any occasion, these jars are perfect for summer picnics or cozy nights in. Decadent cream cheese and whipped cream create a luscious filling that pairs beautifully with a crunchy graham cracker crust. Crowd-pleaser appeal ensures your friends and family will be asking for seconds!
Ingredients for No-Bake Lemon Cheesecake Jars
For the Cheesecake Filling
- 8 oz cream cheese (softened) – Make sure it’s at room temperature for a smooth and creamy filling.
- 1/2 cup sugar – This adds just the right amount of sweetness to balance the tartness of the lemon.
- 1 cup heavy cream (whipped) – Whipping the cream adds lightness and airiness to your cheesecake.
- 1 tbsp lemon juice (fresh) – Freshly squeezed juice enhances the bright lemon flavor in the filling.
- 1 tbsp lemon zest – Zest brings an extra burst of citrus aroma and richness to each bite.
For the Crust
- 1 cup graham cracker crumbs – These provide a classic, crunchy base that complements the creamy filling perfectly.
- 1/4 cup butter (melted) – Melted butter helps bind the crumbs together, creating a deliciously rich crust.
How to Make No-Bake Lemon Cheesecake Jars
1. Combine the Crust: In a mixing bowl, combine 1 cup of graham cracker crumbs with 1/4 cup of melted butter until well mixed. This will create a deliciously buttery base for your dessert!
2. Press into Jars: Firmly press the crust mixture into the bottom of your jars. You want it to be compact and even, providing a perfect foundation for the creamy filling.
3. Beat the Cream Cheese: In another bowl, beat 8 oz of softened cream cheese with 1/2 cup of sugar until smooth and creamy. This ensures your cheesecake filling will have that delightful, rich texture.
4. Fold in Whipped Cream: Gently fold in 1 cup of whipped heavy cream along with 1 tbsp of fresh lemon juice and 1 tbsp of lemon zest. The mixture should be light and fluffy, bursting with citrus goodness!
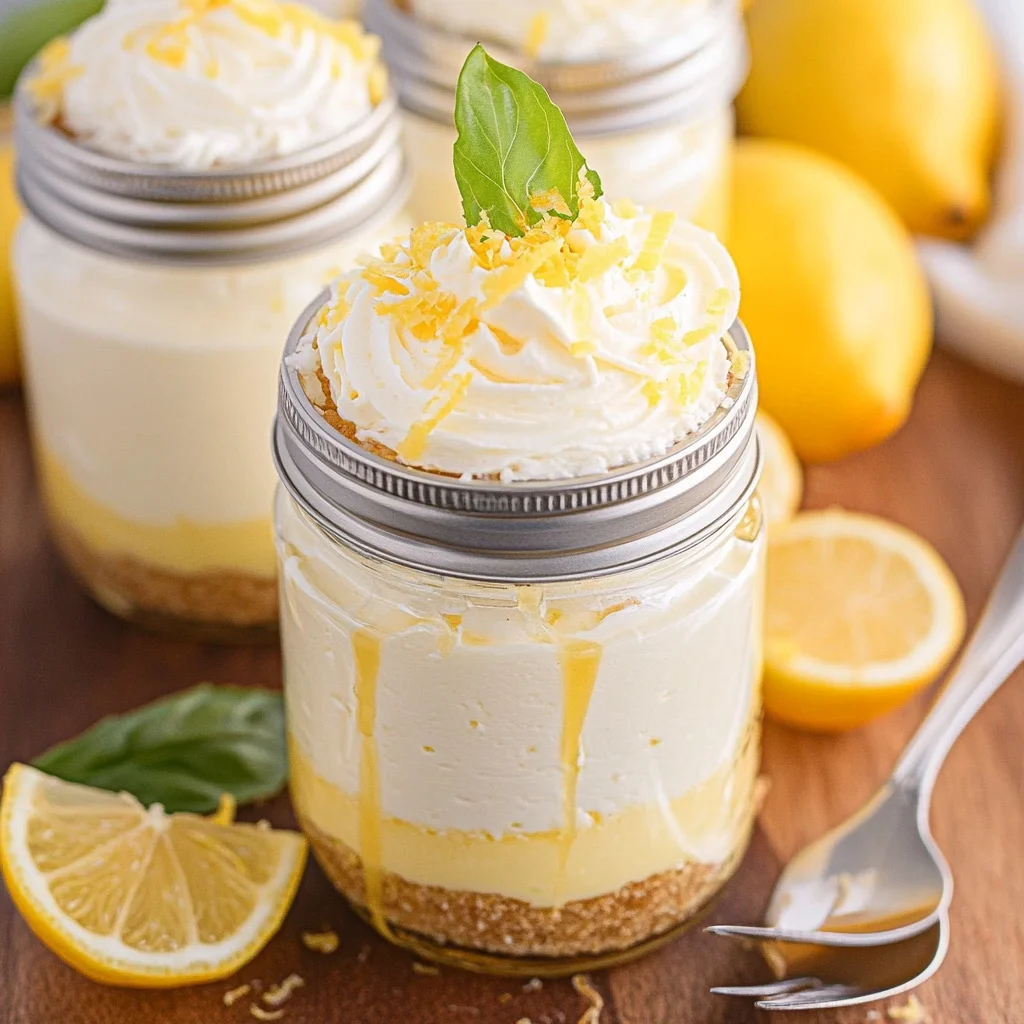
5. Layer the Filling: Spoon the luscious cheesecake filling over the crust in each jar, creating beautiful layers that promise a burst of flavor with every bite.
6. Chill to Set: Refrigerate your jars for at least 2 hours before serving. This helps the flavors meld beautifully and gives your cheesecake its perfect consistency.
Optional: Garnish with extra lemon zest or fresh berries for a pop of color and added flavor!
Exact quantities are listed in the recipe card below.
Pro Tips for No-Bake Lemon Cheesecake Jars
- Softened Cream Cheese: Make sure the cream cheese is at room temperature to achieve a smooth, creamy filling without lumps.
- Whipped Cream Consistency: Whip the heavy cream until it forms stiff peaks; this will ensure a light and airy texture in your cheesecake filling.
- Zest with Care: Use a microplane to zest the lemon; it adds vibrant flavor without any bitter white pith that can ruin your dessert.
- Crust Compression: Press the graham cracker crust firmly into the bottom of the jars to prevent it from crumbling when you dig in later.
- Chill Time Importance: Allowing the No-Bake Lemon Cheesecake Jars to chill for at least 2 hours (or overnight) helps them set properly for optimal texture and flavor.
How to Store and Freeze No-Bake Lemon Cheesecake Jars
- Fridge: Store your No-Bake Lemon Cheesecake Jars covered in the fridge for up to 5 days. This keeps the filling fresh and creamy.
- Freezer: If you need to save some jars for later, freeze them for up to 3 months. Make sure to use airtight containers to prevent freezer burn.
- Thawing: To enjoy frozen jars, thaw them overnight in the fridge before serving. Avoid microwaving, as it can affect the texture.
- Serving: Always serve chilled for the best flavor! A quick garnish of lemon zest on top can elevate your presentation right before serving.
No-Bake Lemon Cheesecake Jars Your Way
Feel free to let your creativity shine by customizing this delightful dessert to suit your taste buds!
- Dairy-Free: Substitute cream cheese with vegan cream cheese and use coconut cream instead of heavy cream for a creamy texture. This twist keeps the cheesecake luscious while being friendly to dairy-free diets.
- Lower Sugar: Use a sugar substitute like stevia or erythritol in place of sugar, adjusting to taste. You’ll enjoy a guilt-free treat that doesn’t compromise on flavor.
- Berry Bliss: Fold in fresh or pureed berries like strawberries or blueberries into the cheesecake filling for a fruity explosion. The added color and flavor will elevate your jars into a refreshing summer delight.
- Chocolate Lovers: Incorporate cocoa powder into the filling for a chocolate lemon cheesecake experience. Just a couple of tablespoons can create a rich contrast that’s simply irresistible.
- Nutty Crust: Swap graham cracker crumbs for crushed almonds or pecans for an extra crunchy texture. This nut crust adds a delightful flavor that pairs beautifully with the creamy filling.
- Spiced Up: Add a pinch of cinnamon or nutmeg to the crust for warm undertones. These spices can give your jars an unexpected depth, perfect for cozy gatherings.
- Zesty Boost: Increase lemon zest and juice for an extra tangy kick that lemon lovers will adore. This simple adjustment can brighten up every bite, making it even more refreshing.
- Layered Delight: Alternate layers of cheesecake filling with whipped topping or lemon curd between the crust for added texture and flavor complexity. Each spoonful will surprise you with delightful contrasts!
Make Ahead Options
If you’re looking to save time while impressing your guests, these No-Bake Lemon Cheesecake Jars are the perfect recipe for meal prep. You can prepare the crust with 1 cup of graham cracker crumbs and 1/4 cup of melted butter up to 24 hours in advance; simply combine them in a bowl and press into the bottom of your jars. The cheesecake filling, made with 8 oz of softened cream cheese, 1/2 cup sugar, 1 cup whipped heavy cream, 1 tbsp fresh lemon juice, and 1 tbsp lemon zest, can also be made ahead and stored in the fridge for up to 3 days. Just remember to layer it over your crust when you’re ready to serve, allowing at least 2 hours of refrigeration before enjoying these delightful desserts. This way, you’ll have a refreshing treat ready to go whenever you need it!
No-Bake Lemon Cheesecake Jars Questions Answered
What type of cream cheese should I use for the cheesecake filling?
Using full-fat cream cheese is ideal for a rich and creamy texture. Make sure it’s softened to room temperature; this will ensure it blends smoothly with the sugar. Avoid low-fat or whipped cream cheese, as they may not provide the same luxurious consistency.
How long can I store these No-Bake Lemon Cheesecake Jars in the refrigerator?
You can store your jars in the refrigerator for up to 3 days. Just make sure they are covered tightly with plastic wrap or a lid to keep them fresh and prevent any odors from seeping in.
Can I freeze No-Bake Lemon Cheesecake Jars?
While you can freeze these jars, it’s best to enjoy them fresh for optimal flavor and texture. If you decide to freeze them, make sure to do so before adding any toppings like fruit or whipped cream. They can be stored in the freezer for up to a month. When ready to enjoy, thaw them overnight in the refrigerator.
What if my cheesecake filling isn’t thickening properly?
If your filling seems too runny, ensure that your heavy cream is whipped until stiff peaks form before folding it into the mixture. This adds volume and stability. Additionally, make sure your cream cheese was adequately softened; cold cream cheese will not blend well and can lead to a less-than-ideal texture.
How many servings does this recipe yield?
This delightful recipe yields 4 servings, perfect for sharing with family or friends—or keeping all to yourself! Each serving packs about 300 calories, making it a satisfying yet refreshing dessert option.
Can I customize the crust for dietary preferences?
Absolutely! If you’re looking for a gluten-free option, substitute graham cracker crumbs with gluten-free cookies or crushed nuts mixed with melted butter. For a healthier alternative, consider using almond flour or oats combined with coconut oil instead of butter for a unique twist on this classic dessert.
No-Bake Lemon Cheesecake Jars
Ingredients
Method
- In a mixing bowl, combine graham cracker crumbs and melted butter until well mixed.
- Press the mixture into the bottom of jars.
- In another bowl, beat the softened cream cheese and sugar until smooth.
- Fold in the whipped heavy cream, lemon juice, and lemon zest until combined.
- Layer the cheesecake filling over the crust in the jars.
- Refrigerate for at least 2 hours before serving.